Getting started with Micro:BIT: installation, connection and first program
You've just bought a Micro:BIT and you're wondering how to make it work? This guide will help you step by step to get started with this card programmable and create your very first project in just a few minutes.
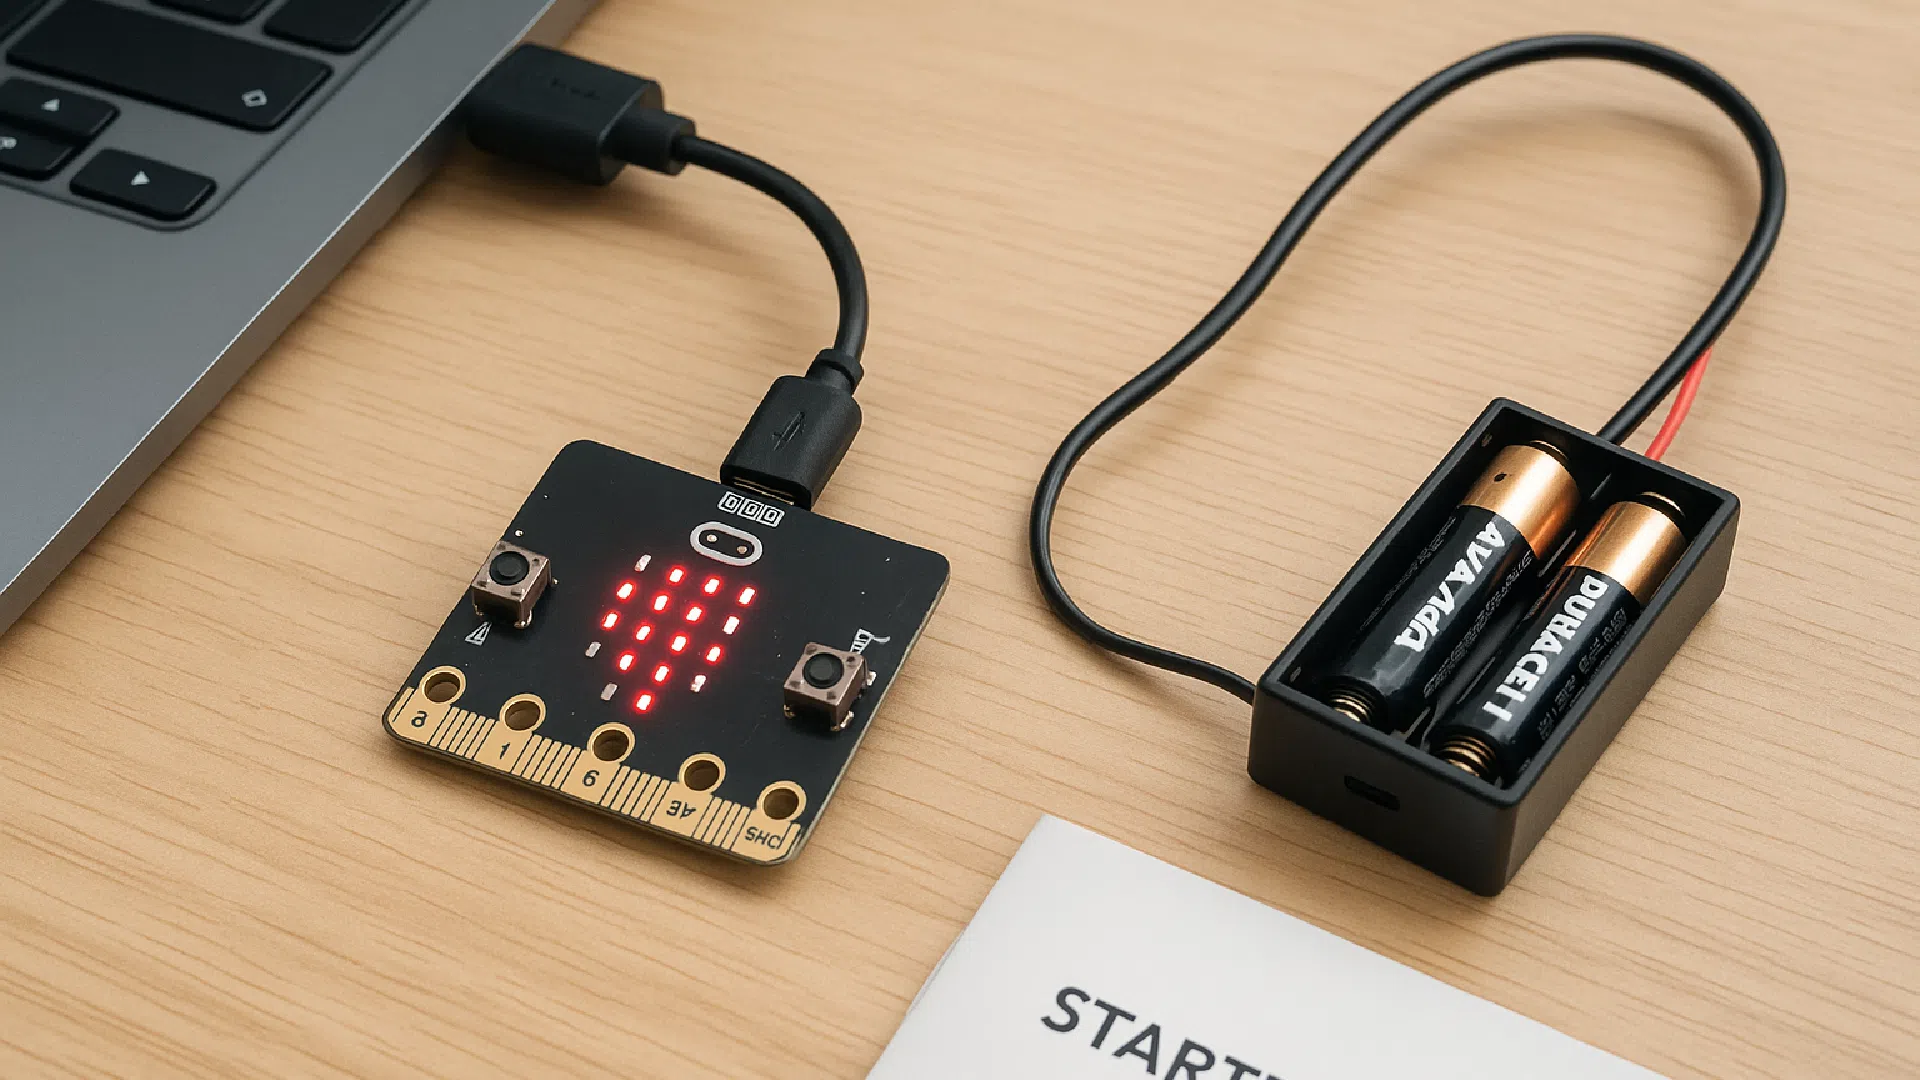
Box contents
Depending on the package you have purchased, you will generally find :
- 1 Micro:BIT v2 card
- 1 USB cable (micro-USB to USB)
- 1 holder for 2 AAA batteries (sometimes with batteries included)
- Quick-start documentation
If you don't have a cable or battery holder, you can use just the USB cable to get started.
Step 1: Connect the Micro:BIT
- Connect the Micro:BIT to your computer using the USB cable.
- Once plugged in, it switches on automatically. The LED display shows an animation or welcome message (depending on version).
- The computer detects the card as a USB stick: a "MICROBIT" volume appears in your files.
At this point, you're ready to send a program to the card.
Step 2: Access the programming environment
Micro:BIT can be programmed directly online, without installing anything. Go to the following site:
This editor lets you program :
- Drag-and-drop blocks (ideal for children or beginners)
- In JavaScript
- In Python, via the official Python editor : https://python.microbit.org
Step 3: Create your first program
Example: make a heart appear on the LEDs.
- In MakeCode, click on "New project".
- In the "at startup" block, add "display an icon" and choose a heart.
- Click on the "Download" button: a .hex file is generated.
- Drag this file to the "MICROBIT" USB key on your computer.
A few seconds after the transfer, the animation appears on the Micro:BIT LED display. Congratulations, you've programmed your first card!
Step 4: Using the A and B buttons
Add interactivity to your project:
- Use the "when button A is pressed" block
- Add "display string" with a message, for example "Hello!"
Download the program to the card again. Press A: the message appears.
Step 5: Switch to battery (optional)
To make your Micro:BIT self-sufficient :
- Unplug the USB cable.
- Plug the battery holder into the connector provided.
- Turn on the switch, if fitted: the previously loaded program starts automatically.
Tips for getting started
- If nothing is displayed: check that the LEDs are pointing at you and that the board is correctly powered.
- If the file doesn't transfer: try again with another USB cable (some only allow charging, not data).
- Save your online projects in MakeCode for later retrieval.
Additional resources
- Simple projects : https://microbit.org/projects
- Educational community : https://microbit.org/teach
- Technical documentation : https://tech.microbit.org/
Conclusion
Micro:BIT is designed to be accessible right from the start. In just a few minutes, you can display a message, react to a button, or use a sensor. This guide gives you the basics to explore further. In the next article, we'll create a complete play project: a coin toss game with A and B buttons.