Getting started with GPi CASE 2W and Recalbox
Visit Raspberry Pi Zero 2W and the GPi CASE 2W an ideal combo for fans of retro-gaming. By combining the power of the Pi Zero 2W with the playful interface of the GPi CASE, you have in your hands a handheld console capable of running games from the great gaming eras. This guide will show you how to configure RecalboxAdd your favorite games and optimize the use of GPi CASE.
Materials required:
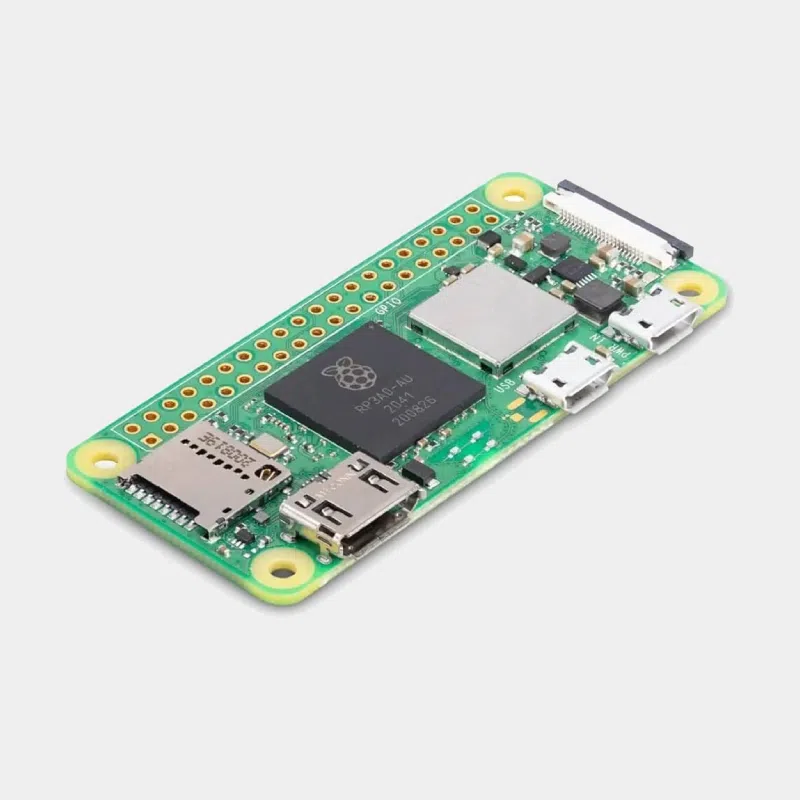
- Raspberry Pi Zero 2W
- GPi CASE 2W from RetroFlag
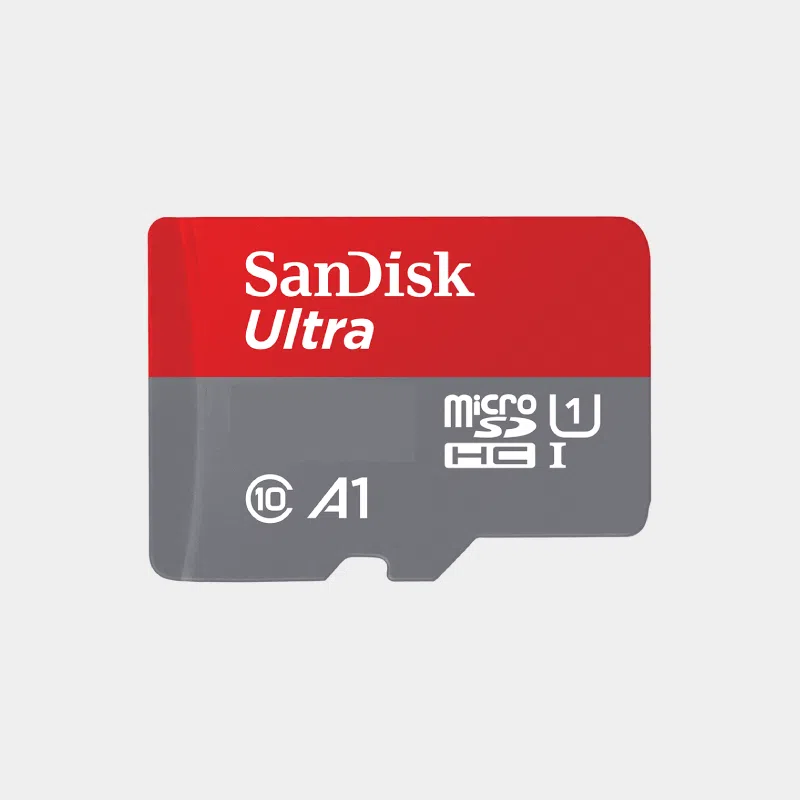
- 32 GB microSD card minimum
- Computer for SD card preparation
- USB power cable
-
 Sandisk ULTRA Micro SD card5,94 € – 255,60 €Price range: 5,94 € through 255,60 € INCL. VAT
 -
 Raspberry Pi Zero 2 W17,28 € INCL. VAT
Step 1: Preparing the SD card with Recalbox
- Download Raspberry Pi Imager from the official website here.
- Insert your microSD card into your computer and run Raspberry Pi Imager.
- Select option "Emulation and Game OSthen select Recalbox.
- For GPi CASE 2W, select Recalbox 7.x for Pi Zero / GPi Case (or more).
- Select your SD card and click on "Write.
- Once writing is complete, remove the SD card from your computer.
Step 2: Installing the Raspberry Pi Zero 2W in the CASE GPi
Installation manual available in click here!
- Switch off the GPi CASE and remove the rear cartridge housing the Raspberry Pi.
- Insert the Raspberry Pi Zero 2W into the cartridge.
- Insert the SD card into the microSD slot located under the cartridge.
- Replace the cartridge in the GPi CASE.
- Plug in the USB power cable and turn on the console via the switch on top.
Step 3: First start-up and configuration of Recalbox
On first startup, Recalbox will take a few minutes to configure. You will then see theEmulationStationHere you can configure the GPi CASE buttons.
- Network configuration Connect to Wi-Fi via the Recalbox menu to transfer your games later.
- Controls test Check that GPi CASE buttons are working properly. If necessary, recalibrate them from the menu parameters.
Step 4: Adding games to Recalbox
There are several ways to add games to Recalbox:
- Via SAMBA From your computer, go to
\recalbox\share\romsand drag your ROMs into the corresponding folders (e.g. NES, SNES, etc.). - Via WebManager Open a browser and type the address
http://recalbox.local. Use the Web interface to import your games.
Make sure the games you add are compatible with the retro consoles supported by Recalbox (NES, SNES, Megadrive, etc.).
Step 5: Optimization and customization
- Battery management The GPi CASE runs on batteries, but you can also use a USB power supply. Autonomy varies between 2 and 3 hours, depending on processor load.
- Performance Some GBA or SNES games may suffer from slowdowns. You can improve fluidity by deactivating the Rewind in the advanced emulator settings.
- Scraper games To display game information in the interface, use an internal or external scraper (via your PC). Limit image size to speed up EmulationStation GUI performance.
Step 6: Enjoy your retro games!
Once you've added your games, you can launch them directly from Recalbox's main menu. With the right configuration and optimized performance, you've got a true retro handheld console.
Conclusion
Visit Raspberry Pi Zero 2W with GPi CASE 2W and Recalbox offer an exceptional retro-gaming experience. Follow this guide to get started quickly and maximize the use of your console. You'll be able to relive the best gaming moments on a modern handheld console. So get to work and have fun!
Useful resources
- Download Raspberry Pi Imager : Raspberry Pi Imager
- Recalbox for GPi CASE : Recalbox Wiki
