Micro:BIT: a programmable board for discovering electronics and code
Visit Micro:BIT is an electronic card the size of a bank card, designed to introduce young people and beginners to the programming and theelectronics. Easy to use, affordable and backed up by a wide ecosystem, it has established itself as an essential educational tool.
Origin and purpose of Micro:BIT
Visit Micro:BIT is a educational microcontroller developed in 2015 by the BBC in partnership with major technology players such as Microsoft, ARM and Samsung. The initial aim was to introduce code learning into all British schools, by equipping each pupil with a simple, interactive map. Today, its development is being pursued by the Micro:BIT Educational Foundation, which is extending its use worldwide.
Who is Micro:BIT for?
The Micro:BIT is designed for a wide audience, including :
- Children and teenagers aged 8 and over
- Teachers and facilitators in programming workshops
- Beginners in electronics or robotics
- Digital trainers and mediators
It lends itself particularly well to playful approach to learningby allowing you to immediately see the results of your code thanks to sensors and Integrated LEDs.
Micro:BIT v2 technical specifications
Here are the main features of the latest version (v2) :
- ARM Cortex-M4 processor (64 MHz)
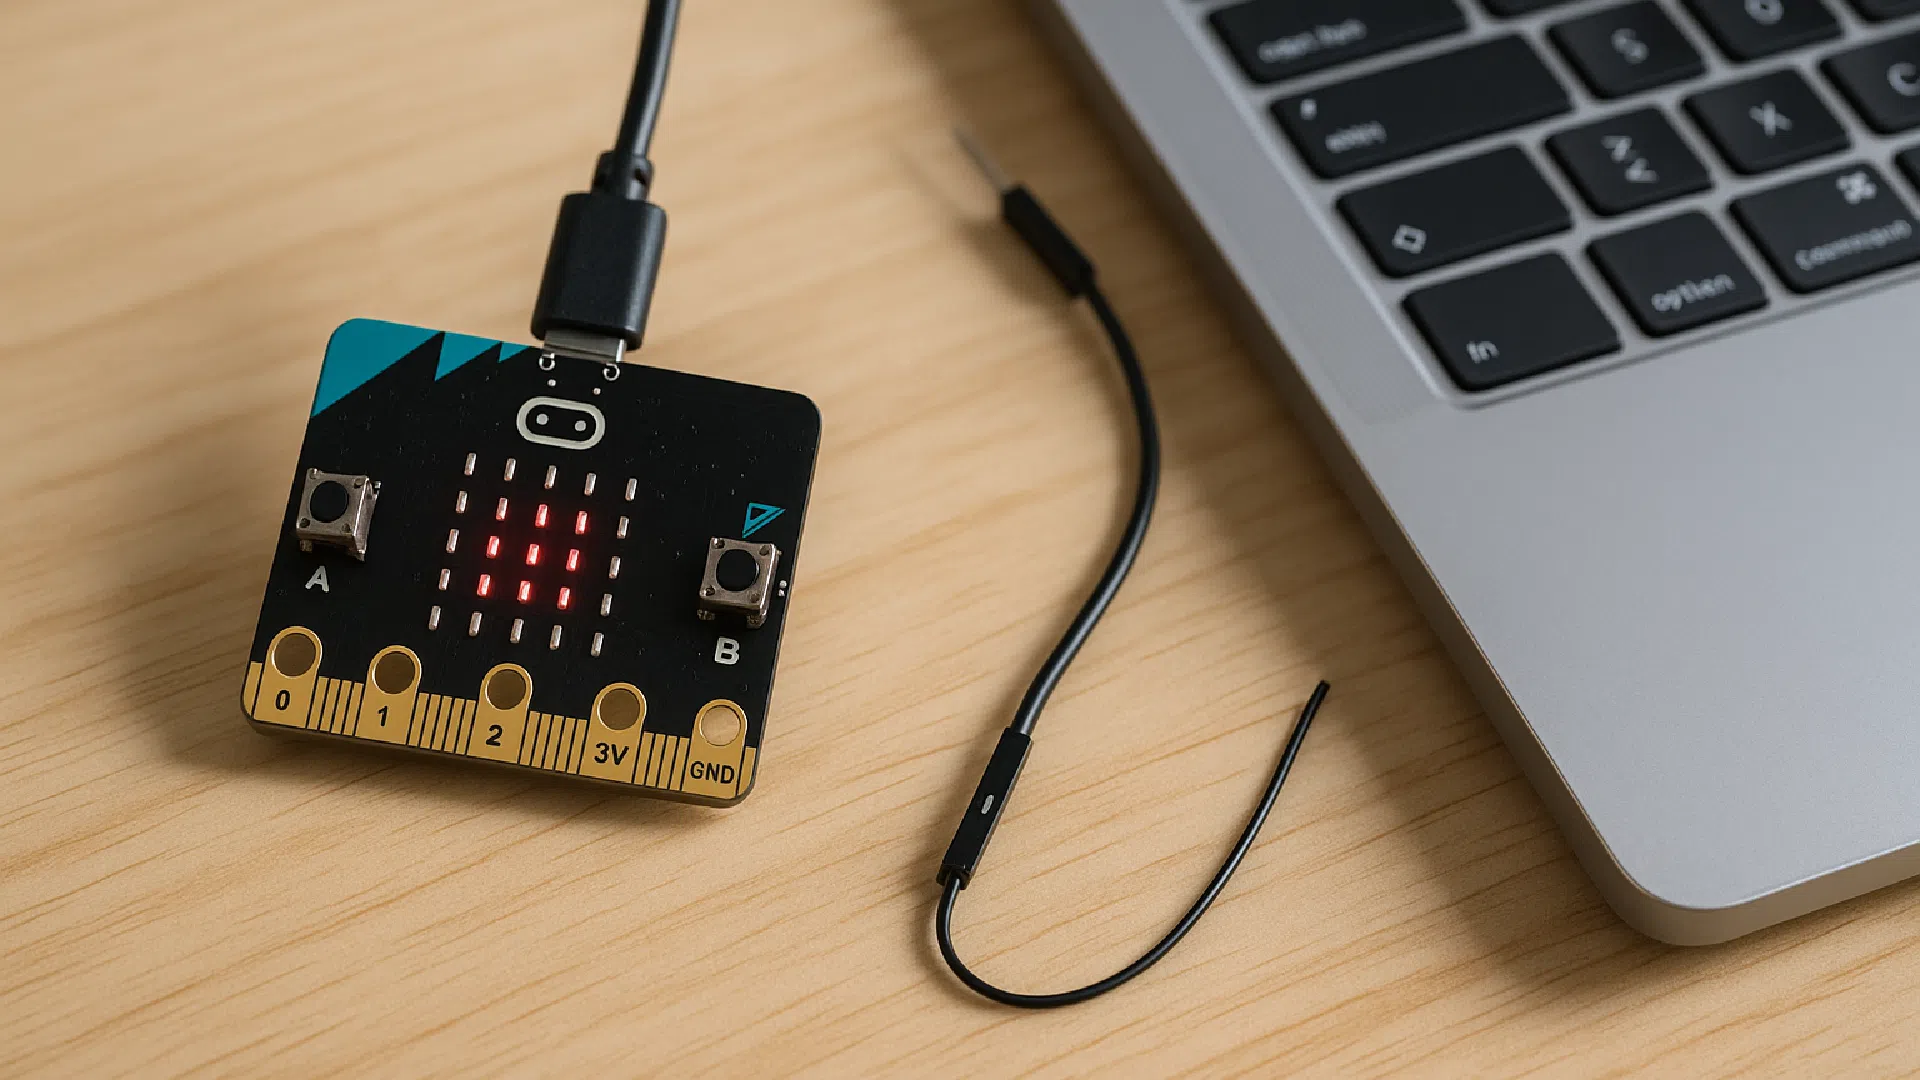
- Matrix of 25 red LEDs (5×5 display)
- Two programmable physical buttons (A and B)
- Integrated sensors: accelerometer, magnetometer, temperature, light, microphone
- Built-in loudspeaker
- Communication: Bluetooth Low Energy, 2.4 GHz radio
- GPIO connectors for external components
- Power supply via micro-USB or battery
These elements allow complete projects to be carried out without the need for additional hardware from the outset.
What can you do with a Micro:BIT?
Visit Micro:BIT allows you to develop numerous projects, even as a beginner:
- Create simple games with buttons and LEDs
- Building a compass or spirit level
- Measure environmental data (temperature, light)
- Detecting movements or sounds
- Control objects (motors, servos, robots)
- Send and receive messages between several cards
The card is often used in educational contexts to illustrate conditional logic, loops and physical sensors.
Compatible languages and environments
Micro:BIT is compatible with several languages and platforms:
- MakeCode, a highly intuitive graphical block (and JavaScript) editor
- Python, with an official online editor dedicated to Micro:BIT
- Scratch, via a special extension
- C/C++ for advanced developers (via the official SDK)
All these tools work directly in a browser, with no software to install, making them easy to use at home or in the classroom.
Quick comparison: Micro:BIT vs Arduino vs Raspberry Pi
| Criteria | Micro:BIT | Arduino Uno | Raspberry Pi |
|---|---|---|---|
| Ease of use | Very simple | Average | Complex |
| Integrated sensors | Yes | No | No |
| Display included | Integrated LEDs | No | Screen-dependent |
| Connectivity | Bluetooth, radio | No | Wi-Fi, Bluetooth |
| Approximate price | ~16 € | ~25 € | ~40 € |
The Micro:BIT is clearly geared towards education and simplicity, while the Arduino and Raspberry Pi are more powerful but also more technical to tackle for a beginner audience.
A rich educational ecosystem
Micro:BIT benefits from a vast ecosystem of resources:
- Turnkey projects on microbit.org
- Tutorials for all levels
- Compatible robotic kits (Kitronik, Elecfreaks...)
- Additional modules: sensors, motors, LEDs, buzzers
It is also widely used in educational initiatives, with teaching scenarios designed for teachers.
Why choose Micro:BIT?
Here are the main advantages of this card:
- Very easy to handle
- Interactive components already integrated
- Wide variety of projects can be realized without additional equipment
- Compatibility with several programming languages
- Large community and educational support
It's an excellent tool for introducing children to programming and digital technology from an early age.
Useful resources
- Official website: https://microbit.org/
Conclusion
The Micro:BIT is the ideal gateway to the world of electronics and programming. Thanks to its simplicity, integrated sensors and accessible interfaces, it's a fun way to learn, and you'll soon be able to move on to concrete projects. In the next article, we'll look at how to plug it in, install it and create your very first program.