Installing and using Node-RED on Raspberry Pi
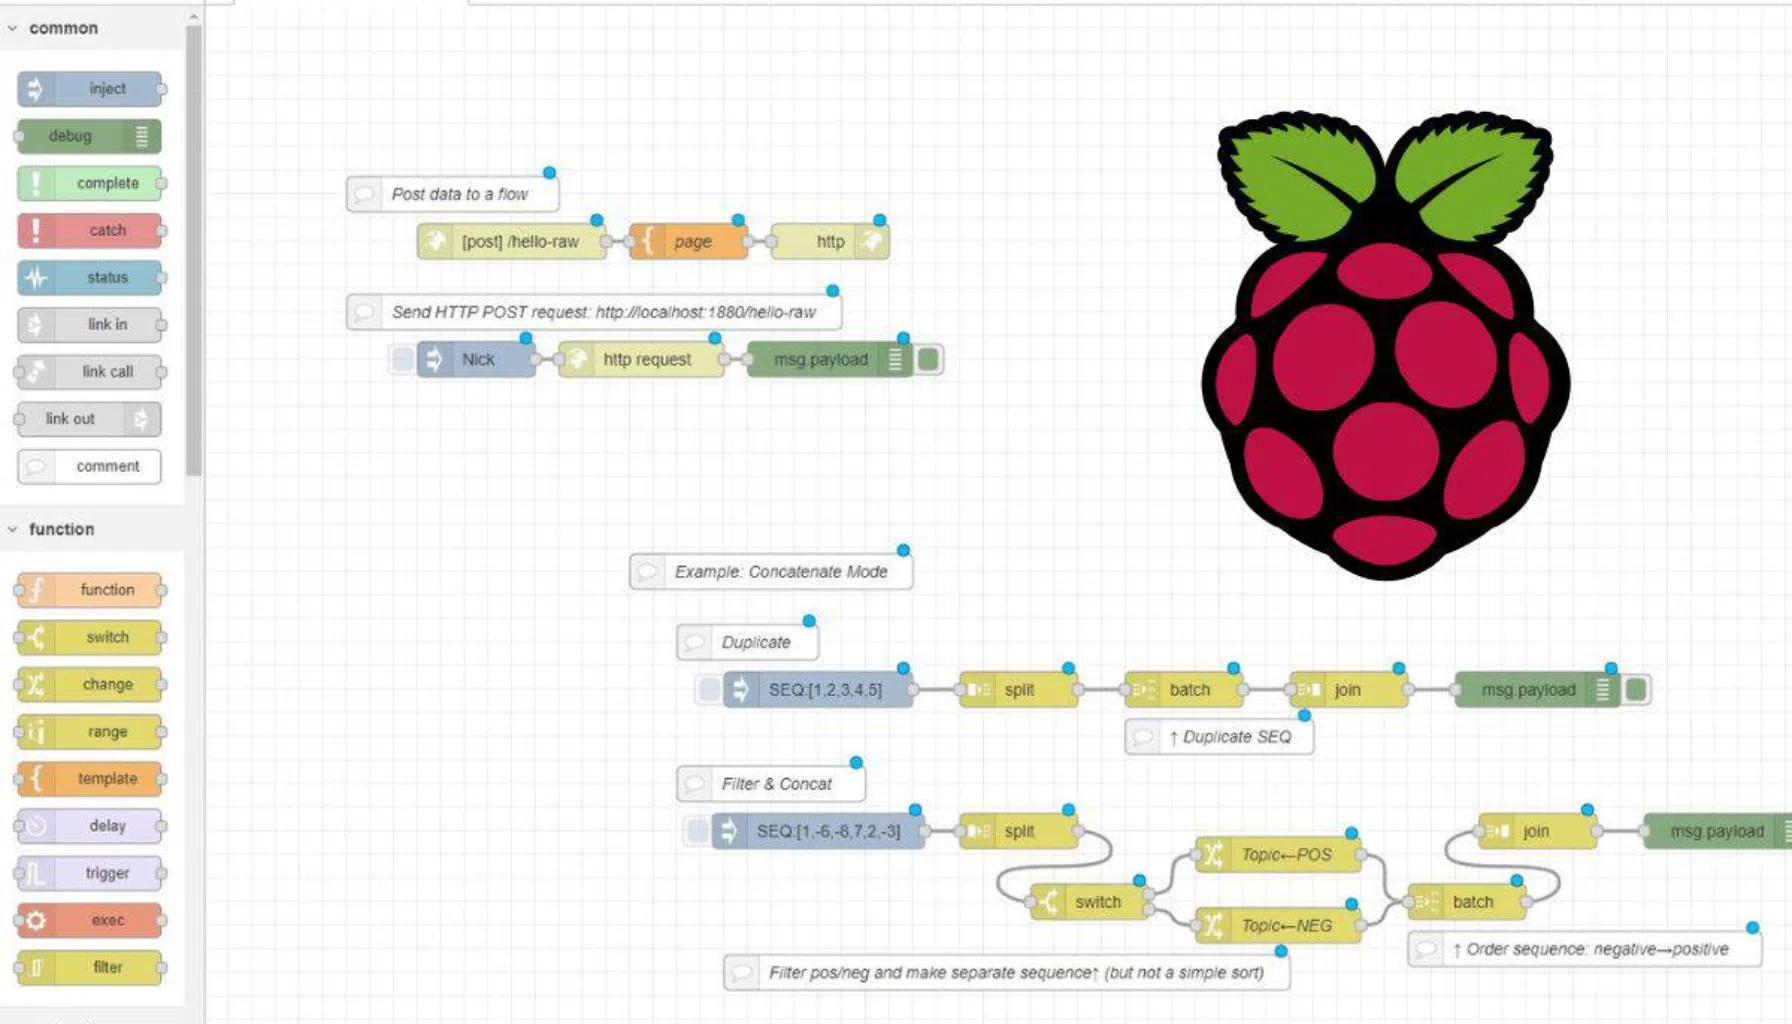
Node-RED Node-RED is a low-code programming platform that lets you create automation and integrations through graphical workflows. Thanks to its intuitive drag-and-drop interface, Node-RED is particularly appreciated in the field of home automation for its simplicity and ease of integration with a wide range of protocols and services.
In this tutorial, you'll learn how to install Node-RED on your Raspberry Pi and create automations for your home automation system or IoT projects.
Why use Node-RED for home automation?
Node-RED connects peripherals such as sensors, home automation management systems, or web services by creating flows automation. For example, you can use Node-RED to :
- Automate your home's lighting according to the brightness outside.
- Receive alerts on your phone when specific events occur.
- Control your devices with Home Assistant, Jeedomor Mosquitto MQTT for managing messages between different IoT devices.
Step 1: Installing Node-RED on Raspberry Pi
- Preparing your Raspberry Pi :
- Make sure that Raspberry Pi OS is installed on your Raspberry Pi. If this is not the case, follow this tutorial to install Raspberry Pi OS Lite with Raspberry Pi Imager.
- Connect to the Raspberry Pi via SSH with this command:
ssh pi@
- Install Node-RED Node-RED can be easily installed with a script available on GitHub. Run this command in your SSH terminal:
- Copy code :
bash <(curl -sL https://raw.githubusercontent.com/node-red/linux-installers/master/deb/update-nodejs-and-nodered) - Validate questions with
yto authorize the installation of dependencies.
- Copy code :
- Start Node-RED Once installation is complete, launch Node-RED with :
- Copy the code :
node-red-start - Node-RED is now active. You can access the interface via a browser by entering the following address:
http://:1880
- Copy the code :
- Automate Node-RED startup To have Node-RED start automatically each time the Raspberry Pi is booted, activate the service with this command:
sudo systemctl enable nodered.service
Step 2: Create automations with Node-RED
Example 1: Controlling lights with MQTT
- Install an MQTT broker such as Mosquitto on your Raspberry Pi.
- Use MQTT nodes in Node-RED to publish and subscribe to MQTT messages, enabling you to send commands to your connected lights.
Example 2: Notification of movement via Telegram
- Add a motion sensor compatible with your home automation system.
- Use input nodes to trigger a notification when the sensor detects movement.
- Add a node Telegram to send a message to your phone.
Example 3: Integration with Home Assistant
Node-RED integrates directly with Home Assistant. You can use it to automate complex tasks such as blind control, temperature management or lighting scenarios. Simply install the Node-RED add-on from the Home Assistant interface.
Conclusion
Node-RED is a powerful and flexible tool for home automation and IoT projects. Whether you're a beginner or an expert, you can quickly create complex workflows without writing code. With integrations for MQTT, Home Assistantand other services, Node-RED is the ideal platform for managing your connected systems.