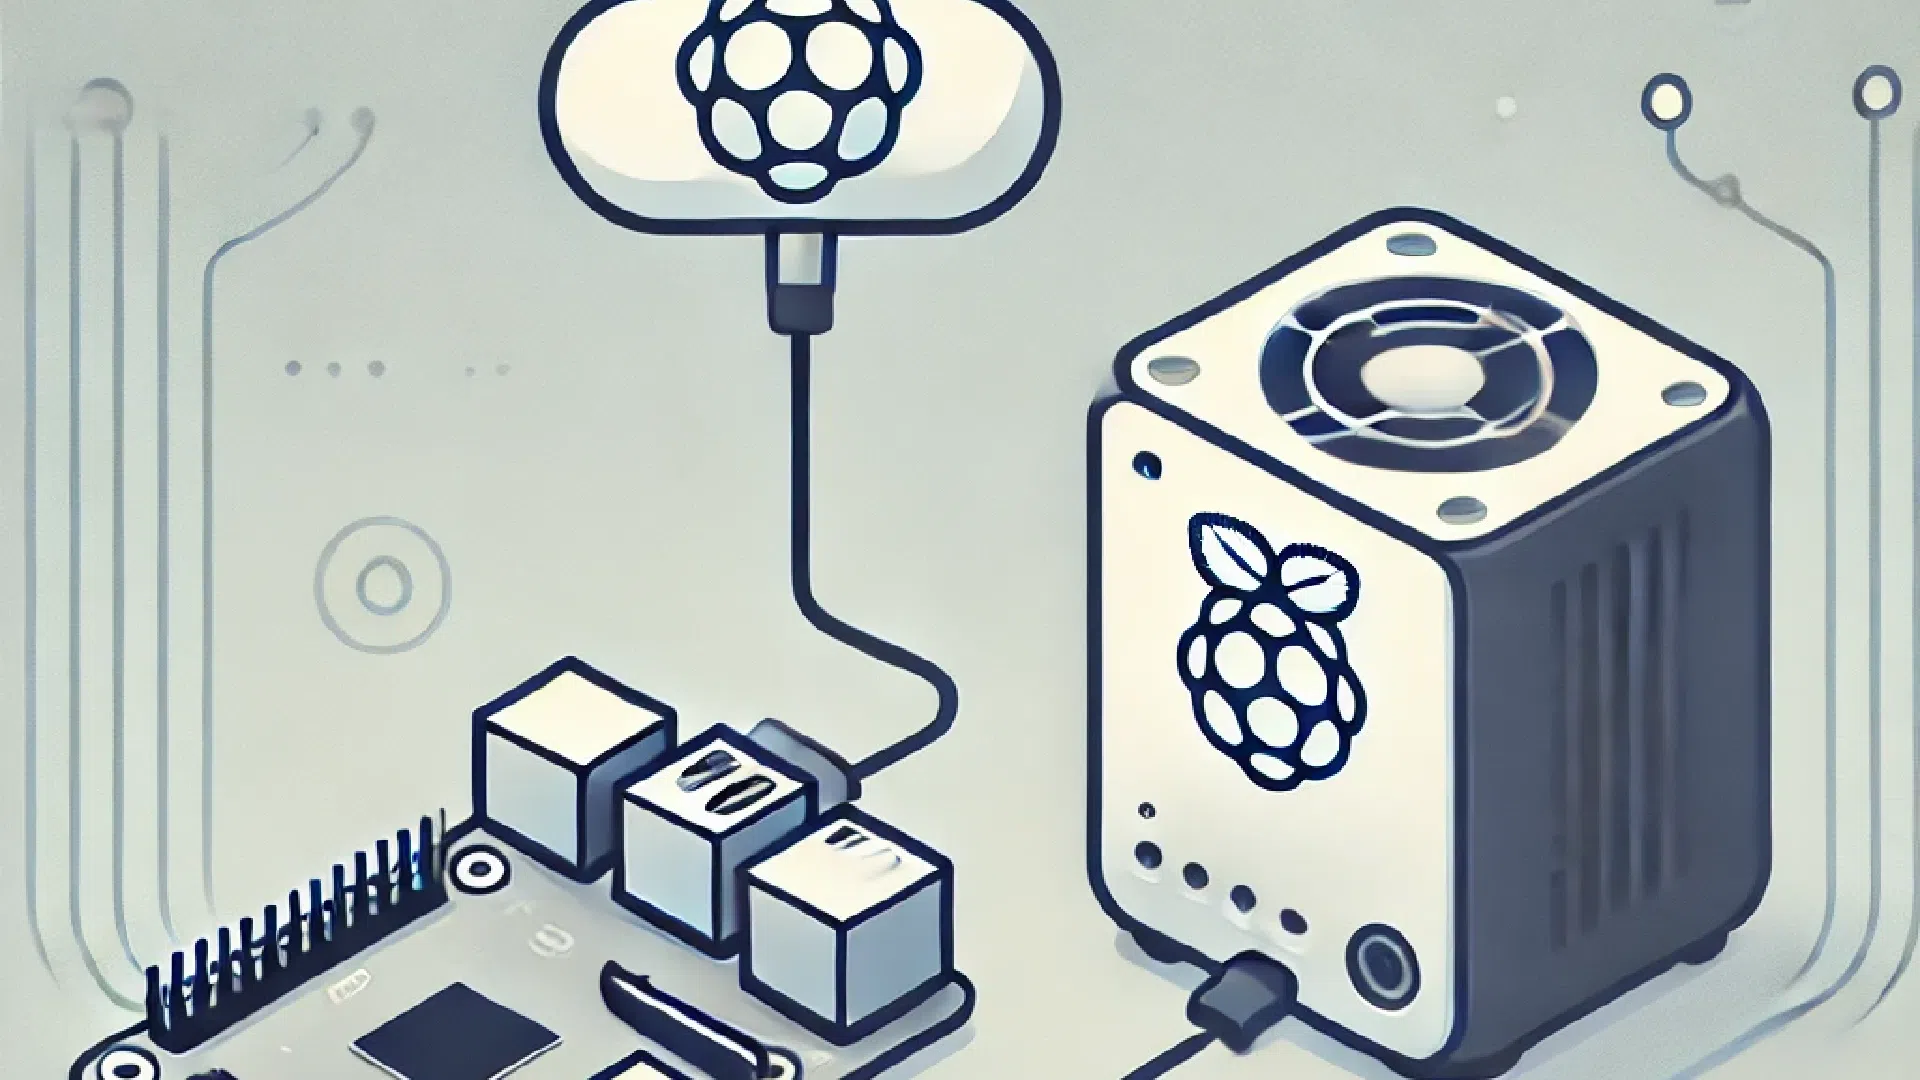
Cloud server with a Raspberry Pi
Turning your Raspberry Pi into a personal cloud server is a useful and secure project. With Nextcloud, you can securely store, synchronize and share your files. Here's a detailed guide to help you get started.
Contents
- Introduction
- Equipment required
- Preparing the Raspberry Pi
- Installing Nextcloud
- Nextcloud configuration
- Securing the Cloud Server
- Remote Access
- Testing and adjustment
- Conclusion
1. Introduction
A personal cloud server lets you store, synchronize and share your files securely and privately. Using a Raspberry Pi and Nextcloud, you can create a cloud solution accessible from anywhere.
2. Materials required
- Raspberry Pi (model 3 or higher)
- microSD card (minimum 16 GB) with Raspbian installed
- External hard disk or USB key for storage
- Ethernet cable or Wi-Fi connection
- Power supply for Raspberry Pi
3. Preparing the Raspberry Pi
- Install Raspbian :
- Download the Raspbian image from the official website.
- Use a tool like balenaEtcher to burn the image onto the microSD card.
- Insert the microSD card into the Raspberry Pi and start it up.
- Configuring the Raspberry Pi :
- Log in with the default credentials (user :
pipassword :raspberry). - Update the system with the following commands:
sudo apt updatesudo apt upgrade
- Log in with the default credentials (user :
4. Installing Nextcloud
- Installing Apache, PHP and MariaDB :
- Nextcloud requires a web server, a scripting language and a database:
sudo apt install apache2sudo apt install php libapache2-mod-php php-mysqlsudo apt install mariadb-server
- Nextcloud requires a web server, a scripting language and a database:
- Securing MariaDB :
- Run the MariaDB security script:
sudo mysql_secure_installation
- Run the MariaDB security script:
- Creating a database for Nextcloud :
- Connect to MariaDB and create a database:
sudo mysql -u root -p
CREATE DATABASE nextcloud;
CREATE USER 'ncuser'@'localhost' IDENTIFIED BY 'your_password';
GRANT ALL PRIVILEGES ON nextcloud.* TO 'ncuser'@'localhost';
FLUSH PRIVILEGES;
EXIT;
4. Download and install Nextcloud :
- Download the latest version of Nextcloud :
wget https://download.nextcloud.com/server/releases/latest.tar.bz2tar -xjf latest.tar.bz2sudo mv nextcloud /var/www/html/
Setting permissions :
- Grant the necessary permissions to Nextcloud files:
sudo chown -R www-data:www-data /var/www/html/nextcloudsudo chmod -R 755 /var/www/html/nextcloud
5. Nextcloud configuration
- Configuring Apache for Nextcloud :
- Create a configuration file for Nextcloud :
sudo nano /etc/apache2/sites-available/nextcloud.conf
- Add the following content:
- Create a configuration file for Nextcloud :
DocumentRoot /var/www/html/nextcloud/
    ServerName your_domain_or_ip


        Options +FollowSymlinks
        AllowOverride All


            Dav off


        SetEnv HOME /var/www/html/nextcloud
        SetEnv HTTP_HOME /var/www/html/nextcloud


    ErrorLog ${APACHE_LOG_DIR}/error.log
    CustomLog ${APACHE_LOG_DIR}/access.log combined
2. Activate the site and Apache modules :
- Activate Nextcloud configuration and the required modules:
sudo a2ensite nextcloud.confsudo a2enmod rewrite headers env dir mimesudo systemctl restart apache2
Browser access to Nextcloud :
- Open a web browser and go to
http://your_domain_or_ip/nextcloudto complete the installation.
6. Securing the cloud server
- Installing an SSL certificate with Let's Encrypt :
- Secure your server with an SSL certificate:
sudo apt install certbot python3-certbot-apachesudo certbot --apache -d your_domain
- Secure your server with an SSL certificate:
- Automatic certificate renewal :
- Configure automatic certificate renewal :
sudo crontab -e
- Add the following line to renew the certificate every day:
0 3 * * * /usr/bin/certbot renew --quiet
- Configure automatic certificate renewal :
7. Remote access
- Configuring external access :
- If you want to access Nextcloud from outside your local network, configure port forwarding on your router to redirect port 80 and 443 to your Raspberry Pi.
- Use a Dynamic DNS service (optional) :
- If your public IP changes regularly, use a dynamic DNS service like No-IP to associate a domain name with your dynamic IP address.
8. Tests and adjustments
- Test the system :
- Check that all services are working properly and that you can access Nextcloud from different devices.
- Adjust parameters :
- Customize Nextcloud settings to meet your specific needs, such as configuring storage quotas and users.
9. Conclusion
By following this guide, you now have a working personal cloud server with a Raspberry Pi. You can securely store, synchronize and share your files, and access your personal cloud from anywhere. Enjoy your cloud server, and feel free to explore the many applications and extensions available for Nextcloud to enrich your experience even further!
