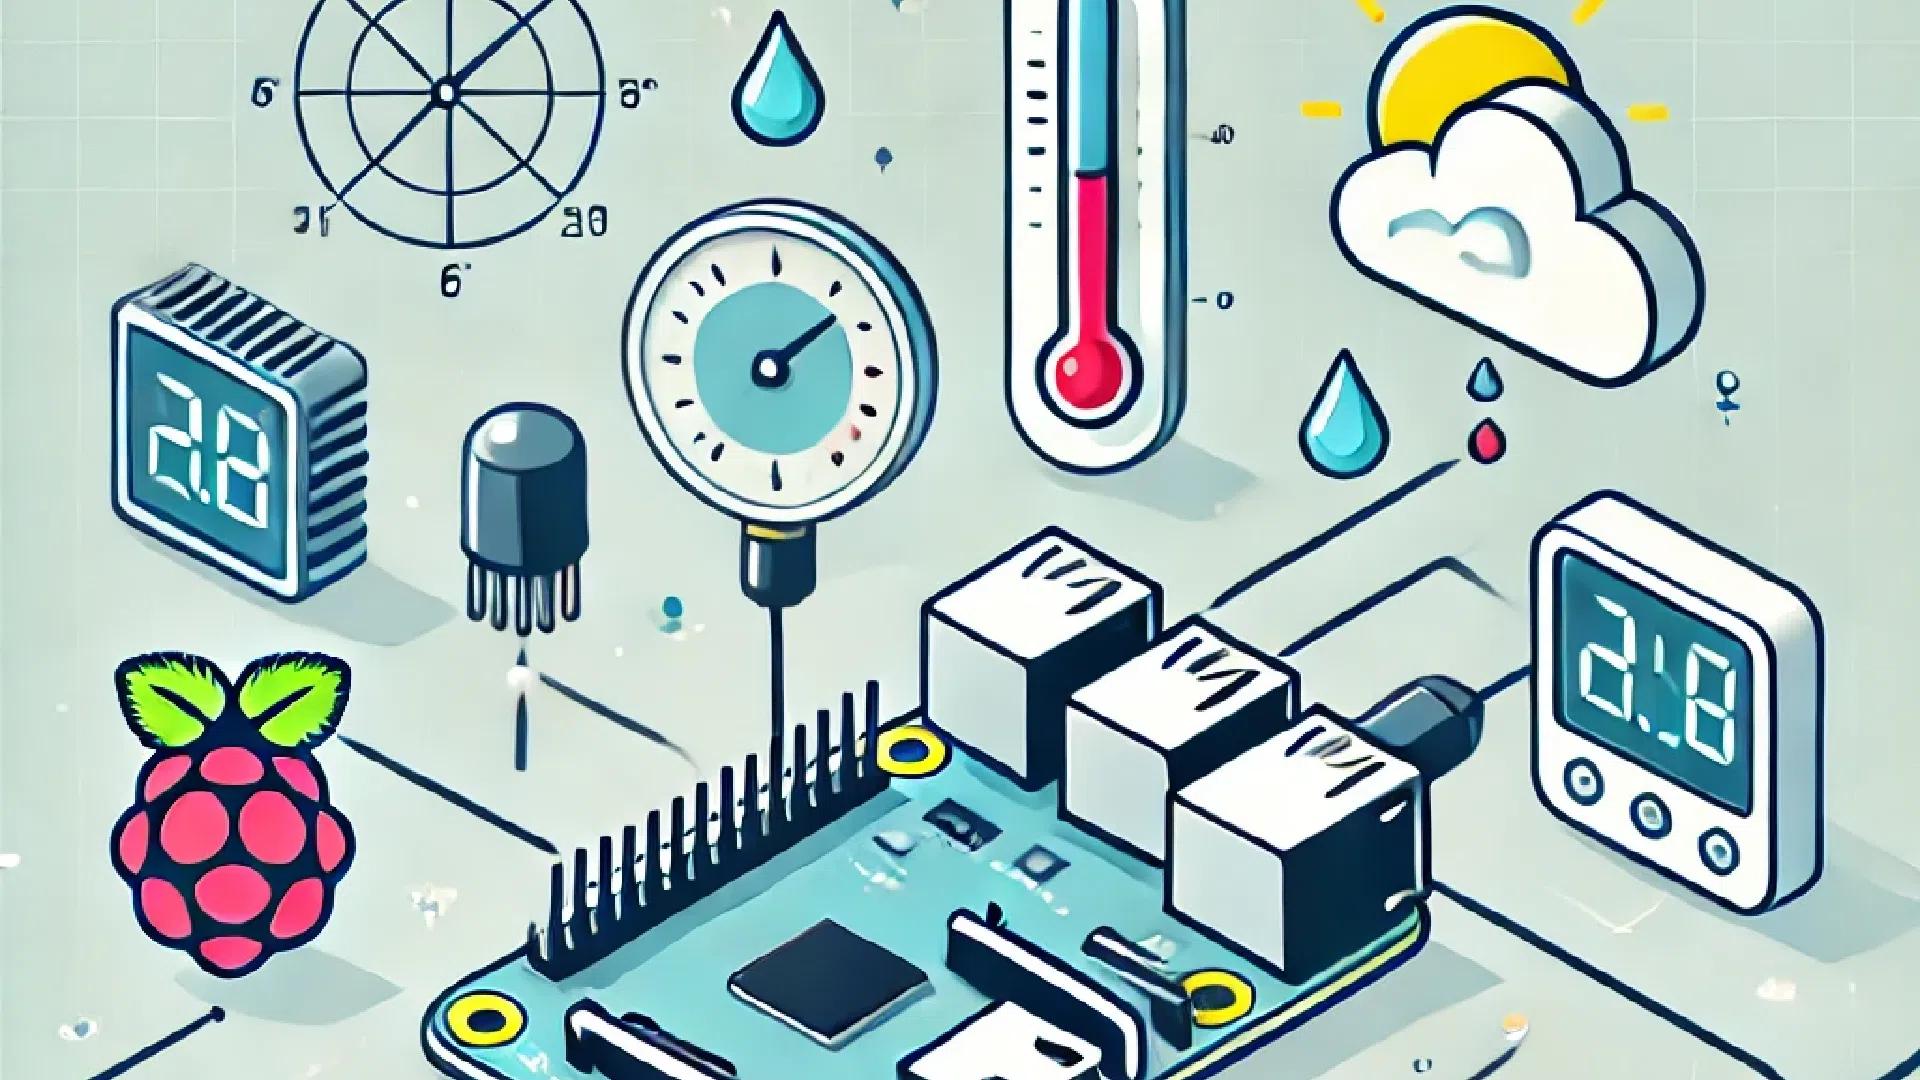
Creating a weather station with a Raspberry Pi
Building a weather station with a Raspberry Pi is an exciting and educational project. You can measure temperature, humidity, atmospheric pressure and much more. Here's a detailed guide to help you get started.
Contents
- Introduction
- Equipment required
- Raspberry Pi configuration
- Sensor installation
- Programming the Raspberry Pi
- Creating the Web Interface
- Data storage
- Testing and adjustment
- Conclusion
1. Introduction
A personal weather station lets you monitor local weather conditions in real time. Using a Raspberry Pi and various sensors, you can collect and display weather data accurately and reliably.
2. Materials required
- Raspberry Pi (model 3 or higher)
- microSD card (minimum 16 GB) with Raspbian installed
- Temperature and humidity sensor (DHT11 or DHT22)
- Atmospheric pressure sensor (BMP180 or BMP280)
- Connecting wires
- Breadboard
- Internet access (Wi-Fi or Ethernet)
3. Raspberry Pi configuration
- Install Raspbian :
- Download the Raspbian image from the official website.
- Use a tool like balenaEtcher to burn the image onto the microSD card.
- Insert the microSD card into the Raspberry Pi and start it up.
- Configuring the Raspberry Pi :
- Log in with the default credentials (user :
pipassword :raspberry). - Update the system with the following commands:
sudo apt updatesudo apt upgrade
- Log in with the default credentials (user :
- Install the necessary libraries :
- Install the libraries for :
sudo apt install python3-pippip3 install Adafruit_DHT Adafruit_BMP
- Install the libraries for :
4. Sensor installation
- Connect temperature and humidity sensor (DHT11/DHT22) :
- Connect the sensor to the breadboard.
- Connect the wires: VCC to 3.3V, GND to GND, and the signal output to a GPIO (e.g. GPIO4).
- Connect atmospheric pressure sensor (BMP180/BMP280) :
- Connect the sensor wires: VCC to 3.3V, GND to GND, SDA to GPIO2 (SDA) and SCL to GPIO3 (SCL).
5. Programming the Raspberry Pi
- Read sensor data :
- Create a Python script to read sensor data. Here's a sample code:
import Adafruit_DHT
import Adafruit_BMP.BMP085 as BMP085
import time

# Sensor configuration
DHT_SENSOR = Adafruit_DHT.DHT22
DHT_PIN = 4
bmp = BMP085.BMP085()

def read_sensors():
    humidity, temperature = Adafruit_DHT.read_retry(DHT_SENSOR, DHT_PIN)
    pressure = bmp.read_pressure()
    return humidity, temperature, pressure

while True:
    humidity, temperature, pressure = read_sensors()
    print(f "Temp: {temperature}°C Humidity: {humidity}% Pressure: {pressure} Pa")
    time.sleep(2)
6. Web interface creation
- Install Flask :
- Use Flask to create a simple web interface:
pip3 install flask
- Use Flask to create a simple web interface:
- Creating a Flask script :
from flask import Flask, render_template
import Adafruit_DHT
import Adafruit_BMP.BMP085 as BMP085

app = Flask(__name__)

DHT_SENSOR = Adafruit_DHT.DHT22
DHT_PIN = 4
bmp = BMP085.BMP085()

def read_sensors():
    humidity, temperature = Adafruit_DHT.read_retry(DHT_SENSOR, DHT_PIN)
    pressure = bmp.read_pressure()
    return humidity, temperature, pressure

@app.route('/')
def index():
    humidity, temperature, pressure = read_sensors()
    return render_template('index.html', temperature=temperature, humidity=humidity, pressure=pressure)

if __name__ == '__main__':
    app.run(host='0.0.0.0', port=5000)
3. Create HTML template :
- Create a file
templates/index.html:
Weather Station


    Current Weather Conditions
    Temperature : {{ temperature }}°C
    Humidity: {{ humidity }}%
    Atmospheric pressure : {{ pressure }} Pa
7. Data storage
- Using a SQLite database (optional) :
- To save weather data, you can use SQLite :
- s
udo apt install sqlite3 pip3 install flask-sqlalchemy
- s
- To save weather data, you can use SQLite :
- Modify the Flask script to save the data:
from flask import Flask, render_template
from flask_sqlalchemy import SQLAlchemy
import Adafruit_DHT
import Adafruit_BMP.BMP085 as BMP085
import datetime

app = Flask(__name__)
app.config['SQLALCHEMY_DATABASE_URI'] = 'sqlite:///weather.db'
db = SQLAlchemy(app)

class WeatherData(db.Model):
    id = db.Column(db.Integer, primary_key=True)
    timestamp = db.Column(db.DateTime, default=datetime.datetime.utcnow)
    temperature = db.Column(db.Float)
    humidity = db.Column(db.Float)
    pressure = db.Column(db.Float)

DHT_SENSOR = Adafruit_DHT.DHT22
DHT_PIN = 4
bmp = BMP085.BMP085()

def read_sensors():
    humidity, temperature = Adafruit_DHT.read_retry(DHT_SENSOR, DHT_PIN)
    pressure = bmp.read_pressure()
    return humidity, temperature, pressure

@app.route('/')
def index():
    humidity, temperature, pressure = read_sensors()
    weather_data = WeatherData(temperature=temperature, humidity=humidity, pressure=pressure)
    db.session.add(weather_data)
    db.session.commit()
    return render_template('index.html', temperature=temperature, humidity=humidity, pressure=pressure)

if __name__ == '__main__':
    db.create_all()
    app.run(host='0.0.0.0', port=5000)
8. Tests and adjustments
- Test the system :
- Make sure all sensors are working properly.
- Test the web interface and check that the data is displayed correctly.
- Adjust parameters :
- Adjust sensor reading intervals and web interface updates to suit your needs.
9. Conclusion
By following this guide, you now have a working weather station with a Raspberry Pi. You can monitor local weather conditions in real time and store data for later analysis. Enjoy your weather station and don't hesitate to add extra features to make it even more powerful!