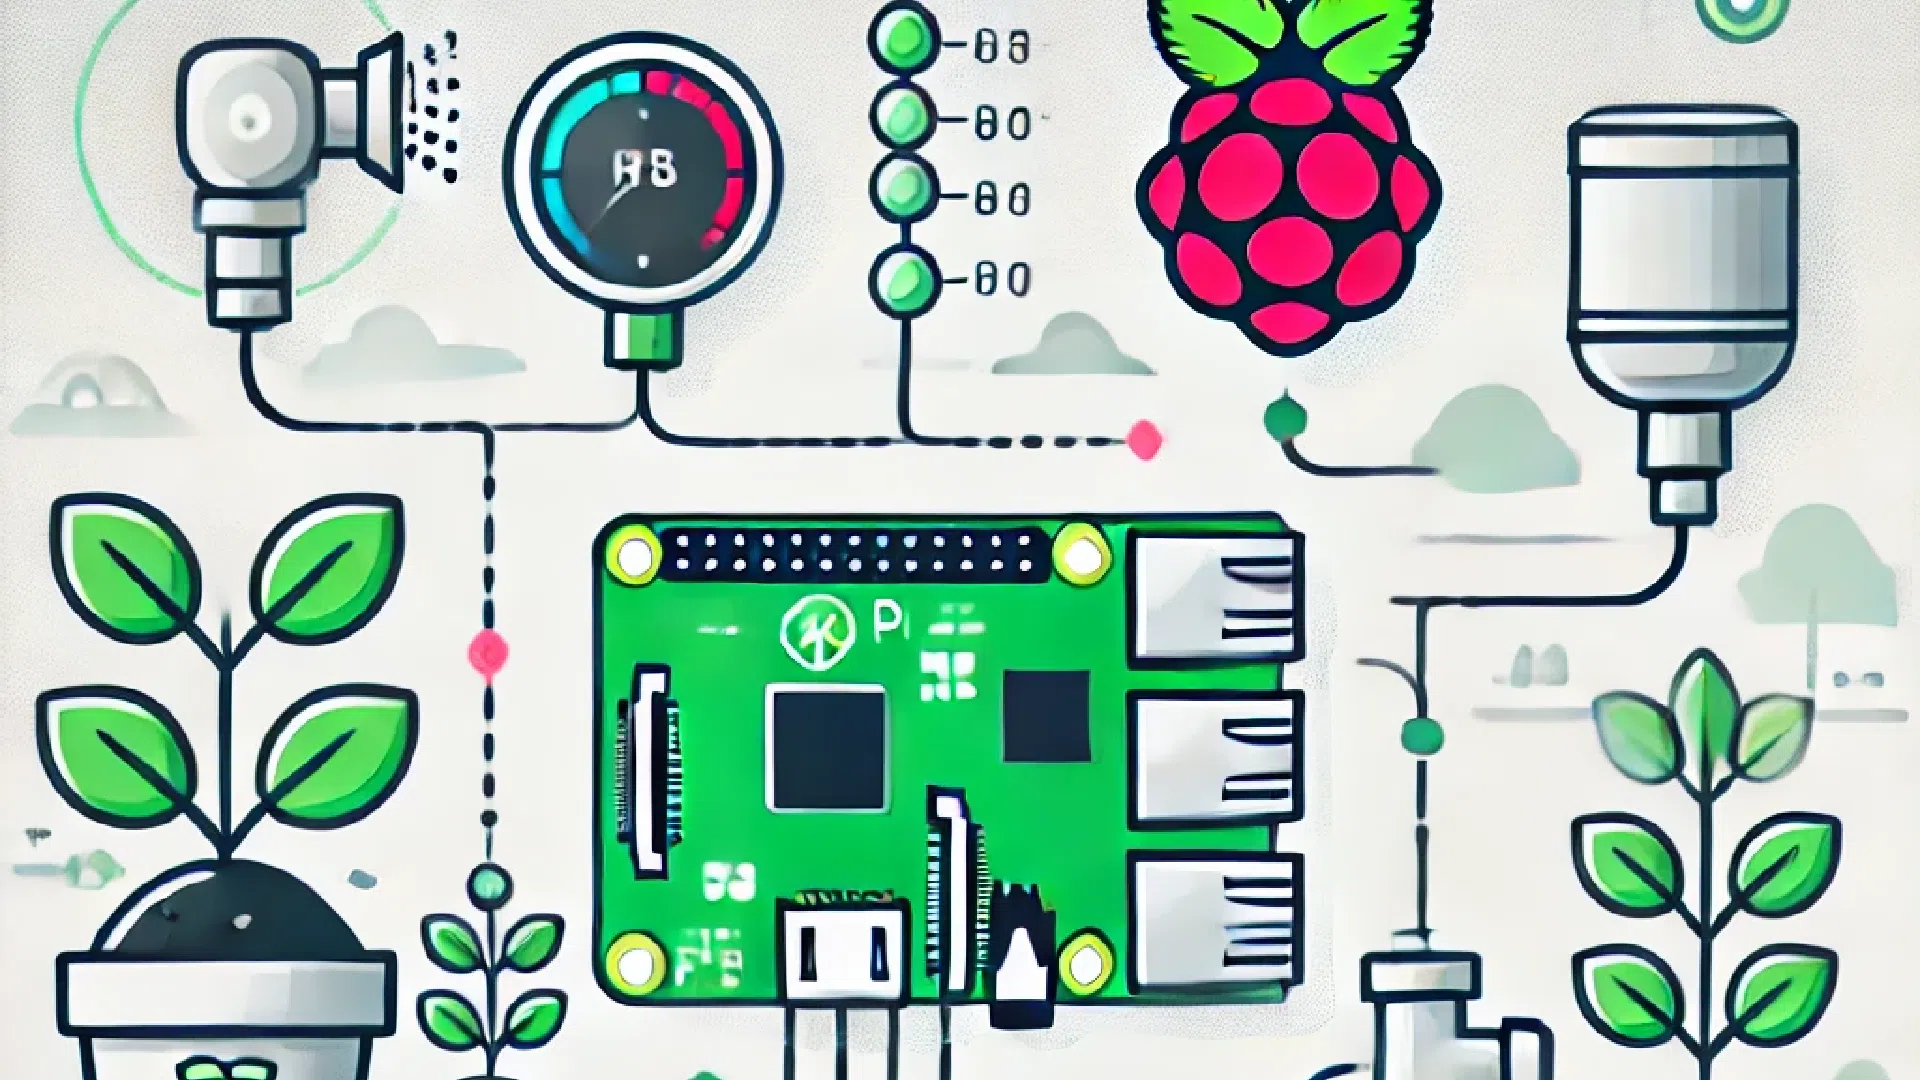
Intelligent gardening with a Raspberry Pi
Transforming your garden into a smart space is an exciting and useful project. Using sensors connected to a Raspberry Pi, you can monitor soil moisture, temperature, and control watering automatically. Here's a detailed guide to help you get started.
Contents
- Introduction
- Equipment required
- Raspberry Pi configuration
- Sensor installation
- Programming the Raspberry Pi
- Sprinkler system configuration
- User interface
- Testing and adjustment
- Conclusion
1. Introduction
Intelligent gardening uses technology to optimize watering and plant maintenance. This project will enable you to automatically control the watering of your plants based on environmental data collected by sensors.
2. Materials required
- Raspberry Pi (model 3 or higher)
- microSD card (minimum 16 GB) with Raspbian installed
- Soil moisture sensor
- Temperature and humidity sensor (DHT11 or DHT22)
- Solenoid valve
- Relay module
- Connecting wires
- Breadboard
- Water pump (optional for more complex systems)
- Internet access (Wi-Fi or Ethernet)
3. Raspberry Pi configuration
- Install Raspbian :
- Download the Raspbian image from the official website.
- Use a tool like balenaEtcher to burn the image onto the microSD card.
- Insert the microSD card into the Raspberry Pi and start it up.
- Configuring the Raspberry Pi :
- Log in with the default credentials (user :
pipassword :raspberry). - Update the system with the following commands:
sudo apt updatesudo apt upgrade
- Log in with the default credentials (user :
- Install the necessary libraries :
- Install libraries for sensors and modules:
sudo apt install python3-pippip3 install Adafruit_DHT
- Install libraries for sensors and modules:
4. Sensor installation
- Connect soil moisture sensor :
- Connect the soil moisture sensor to the breadboard.
- Connect the wires to the Raspberry Pi: VCC to 3.3V, GND to GND and the signal output to a GPIO (e.g. GPIO17).
- Connect temperature and humidity sensor (DHT11/DHT22) :
- Connect the sensor wires: VCC to 3.3V, GND to GND, and the signal output to a GPIO (e.g. GPIO4).
5. Programming the Raspberry Pi
- Read sensor data :
- Create a Python script to read sensor data. Here's a sample code:
import Adafruit_DHT
import RPi.GPIO as GPIO
import time

# Sensor configuration
DHT_SENSOR = Adafruit_DHT.DHT22
DHT_PIN = 4
SOIL_SENSOR_PIN = 17

GPIO.setmode(GPIO.BCM)
GPIO.setup(SOIL_SENSOR_PIN, GPIO.IN)

def read_sensors():
    humidity, temperature = Adafruit_DHT.read_retry(DHT_SENSOR, DHT_PIN)
    soil_moisture = GPIO.input(SOIL_SENSOR_PIN)
    return humidity, temperature, soil_moisture

while True:
    humidity, temperature, soil_moisture = read_sensors()
    print(f "Temp: {temperature}°C Humidity: {humidity}% Soil Moisture: {soil_moisture}")
    time.sleep(2)
6. Watering system configuration
- Connect solenoid valve and relay:
- Connect the solenoid valve to a water source and connect it to the relay module.
- Connect the relay to the Raspberry Pi using a GPIO (e.g. GPIO27).
- Program watering control :
- Modify the script to activate the solenoid valve according to the soil moisture sensor data:
import Adafruit_DHT
import RPi.GPIO as GPIO
import time

DHT_SENSOR = Adafruit_DHT.DHT22
DHT_PIN = 4
SOIL_SENSOR_PIN = 17
RELAY_PIN = 27

GPIO.setmode(GPIO.BCM)
GPIO.setup(SOIL_SENSOR_PIN, GPIO.IN)
GPIO.setup(RELAY_PIN, GPIO.OUT)

def read_sensors():
    humidity, temperature = Adafruit_DHT.read_retry(DHT_SENSOR, DHT_PIN)
    soil_moisture = GPIO.input(SOIL_SENSOR_PIN)
    return humidity, temperature, soil_moisture

def control_watering(soil_moisture):
    if soil_moisture == 0: # Dry
        GPIO.output(RELAY_PIN, GPIO.HIGH) # Turn on water
    else: # Wet
        GPIO.output(RELAY_PIN, GPIO.LOW) # Turn off water

while True:
    humidity, temperature, soil_moisture = read_sensors()
    print(f "Temp: {temperature}°C Humidity: {humidity}% Soil Moisture: {soil_moisture}")
    control_watering(soil_moisture)
    time.sleep(2)
7. User interface
- Configuring a web interface (optional) :
- To make your system more user-friendly, you can set up a web interface to monitor and control watering. Use Flask to create a simple web interface:
pip3 install flask
- To make your system more user-friendly, you can set up a web interface to monitor and control watering. Use Flask to create a simple web interface:
- Creating a Flask script :
from flask import Flask, render_template
import Adafruit_DHT
import RPi.GPIO as GPIO

app = Flask(__name__)

DHT_SENSOR = Adafruit_DHT.DHT22
DHT_PIN = 4
SOIL_SENSOR_PIN = 17
RELAY_PIN = 27

GPIO.setmode(GPIO.BCM)
GPIO.setup(SOIL_SENSOR_PIN, GPIO.IN)
GPIO.setup(RELAY_PIN, GPIO.OUT)

def read_sensors():
    humidity, temperature = Adafruit_DHT.read_retry(DHT_SENSOR, DHT_PIN)
    soil_moisture = GPIO.input(SOIL_SENSOR_PIN)
    return humidity, temperature, soil_moisture

def control_watering(soil_moisture):
    if soil_moisture == 0: # Dry
        GPIO.output(RELAY_PIN, GPIO.HIGH) # Turn on water
    else: # Wet
        GPIO.output(RELAY_PIN, GPIO.LOW) # Turn off water

@app.route('/')
def index():
    humidity, temperature, soil_moisture = read_sensors()
    control_watering(soil_moisture)
    return render_template('index.html', temperature=temperature, humidity=humidity, soil_moisture=soil_moisture)

if __name__ == '__main__':
    app.run(host='0.0.0.0', port=5000)
3. Create HTML template :
- Create a file
templates/index.html
Smart Garden


    State of the Garden
    Temperature: {{ temperature }}°C
    Humidity: {{ humidity }}%
    Soil humidity: {{ soil_moisture }}
8. Tests and adjustments
- System test :
- Make sure all sensors are working properly.
- Test the watering system by changing the soil moisture and check that the solenoid valve switches on and off correctly.
- Adjust Settings :
- Adjust soil moisture thresholds to fine-tune watering control to the specific needs of your plants.
9. Conclusion
By following this guide, you now have a functional intelligent gardening system. You can monitor and control the watering of your plants automatically, maintaining a healthy, well-tended garden without constant manual effort. Enjoy your smart garden and don't hesitate to add extra features to make it even better!
